If you are a beginner and looking for free and easy-to-learn video editing software, MiniTool MovieMaker is an excellent option for you. It’s designed with beginners in mind to provide them with tried and tested tutorials to quickly combine a mixture of video clips, photos and audio to make a video file.
In this blog, I will provide tutorials to understand and learn essential editing tips and tricks with MiniTool MovieMaker.
To experience MiniTool MovieMaker, you must full fill system requirements. Here I have mentioned the minimum system requirement to run MiniTool MovieMker software.
| OS | Windows 7, Windows 8, Windows 8.1, Windows 10, Windows 11 |
| CPU | Intel i5 or better, 2GHz+ (Intel 6th Gen or newer recommended) |
| RAM | 8 GB RAM |
| Disk | 10 GB free hard-disk space (SSD recommended) |
| GPU | Intel HD Graphics 5000 or later; NVIDIA GeForce GTX 700 or later; AMD Radeon R5 or later |
Experience the “Basic Editing Tips To Edit Videos Through Minitool Moviemaker” tutorial. Of course, you have to download and install the MiniTool MovieMaker software first.
To download MiniTool MovieMaker, click on the below-given link. It is a 100% free bundle, ads, watermarks and clean video editing app you will ever find.
Free Download
MiniTool MovieMaker helps users create a video easily and quickly with several movie templates, including festivals, love, travel, etc.
With the mouse,
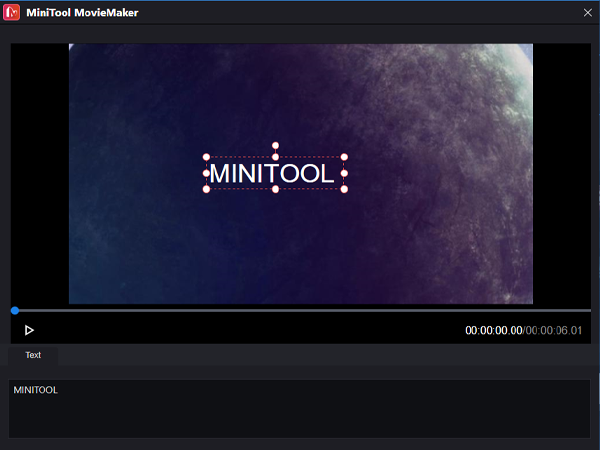
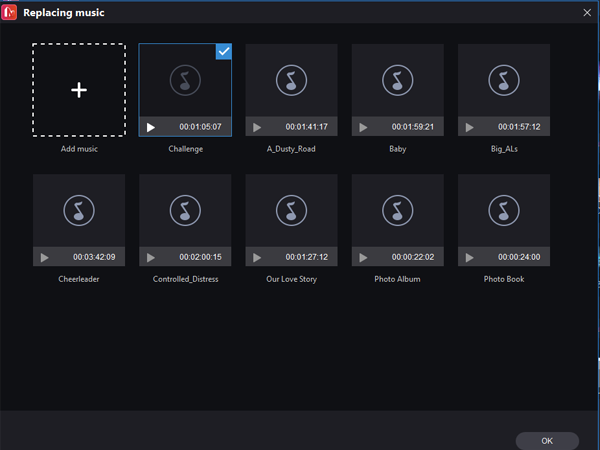
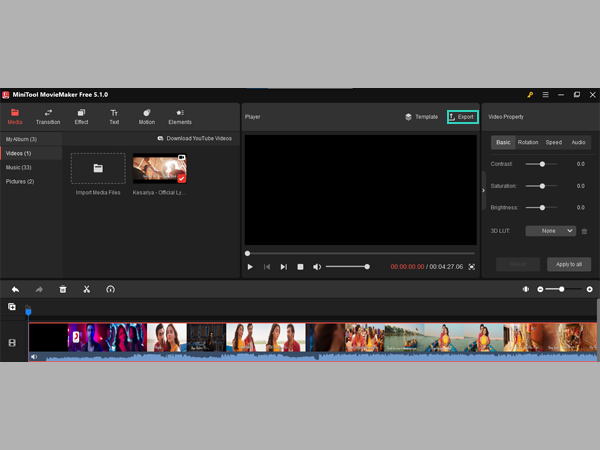
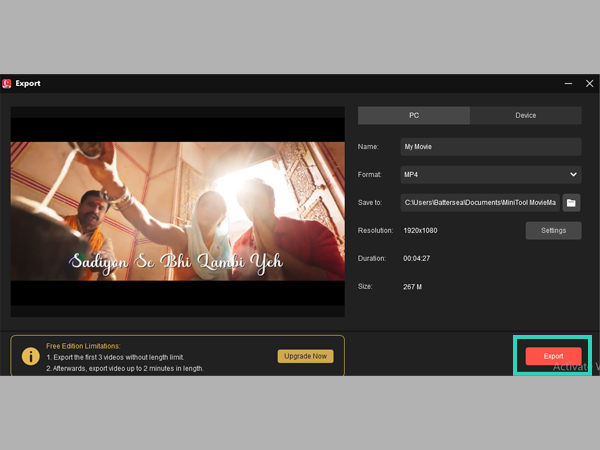
Simply click the Export button to save the movie on your system.
MiniTool MovieMaker creates a project file that contains all information about the files used in users’ projects, videos on the timeline, and edit decisions, effects, and music used in the project. To Create a Project, follow these steps:
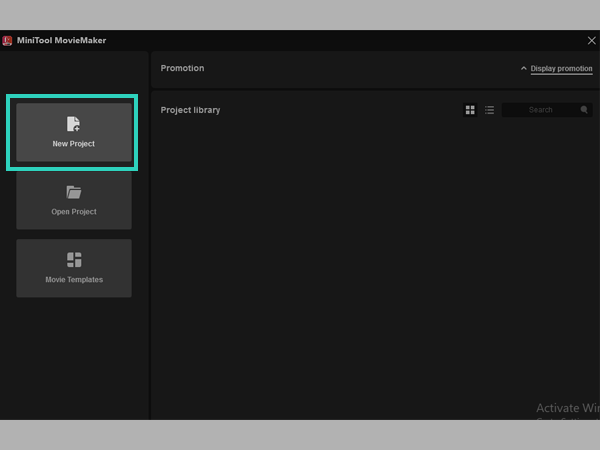
2. Now, tap on the three-bar Menu that appears at the top-right corner, select “File option” and click on the “New Project” option.
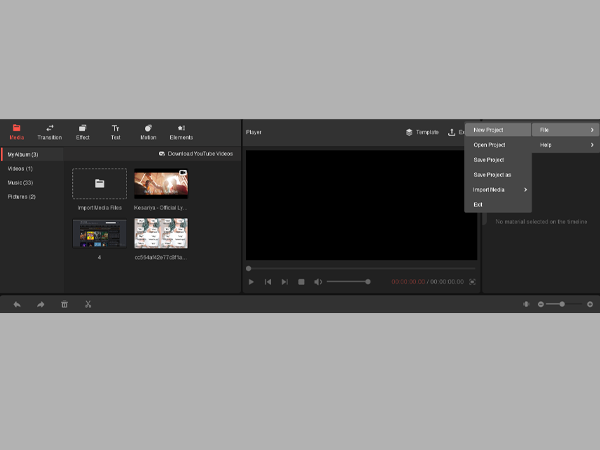
Now, tap on the three-bar Menu at the top-right corner, select “File option”, and click on the “New Project” option.
Recent projects will be available in the Project Library if you have created a project with MiniTool MovieMaker. Double-click on the project you would like to open.
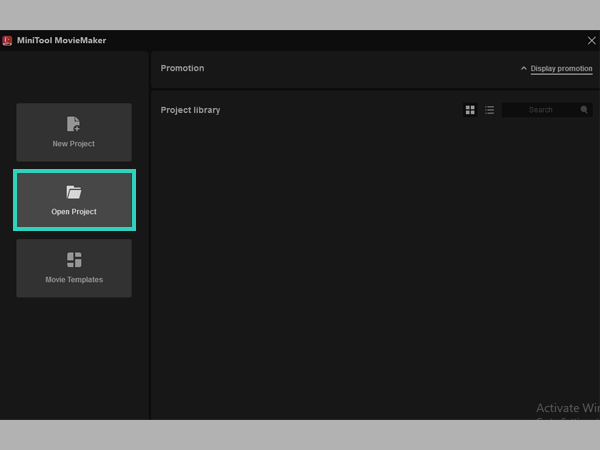
To create a fantastic movie, you must import videos, pictures, and background music. In this tutorial, you will learn and understand how to import files to MiniTool MovieMaker.
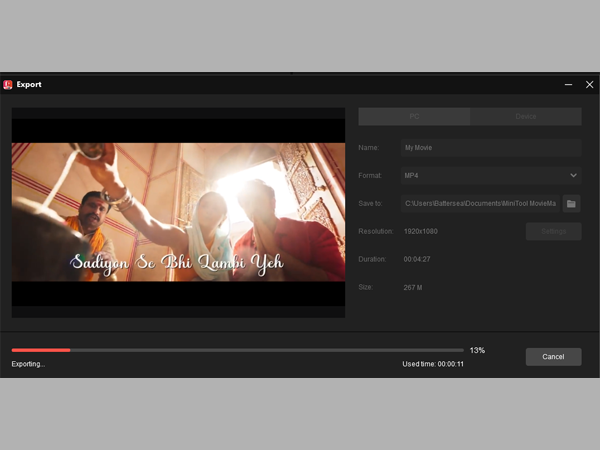
MiniTool MovieMaker helps you to export edited videos to PC and mobile Devices. Here I will provide some instructions to export videos from MiniTool MovieMaker.

This blog lists the tutorials for Basic Editing Tips To Edit Videos Through Minitool Moviemaker. MiniTool MovieMaker is one of the best video editing software; whether newbies or experienced, if you want to do some quick yet powerful edits to your video, use Minitool MovieMaker before you show off your new creation!