In today’s world of remote work and online learning, Zoom has become an essential tool. Zoom is used by companies to host online seminars, and lectures, and to collaborate on different projects. However, the default Zoom recording features has its limitations. For instance, it only records the video and autdio of the meeting and doesn’t offer additional editing options. Moreover, sometimes, you need to get permission from the host. That’s when you might need a good screen recorder tool like iTop Screen Recorder.
In this blog post, we will walk you through the process of installing iTop Screen Recorder on your computer and teach you how to record a Zoom meeting with iTop Screen Recorder. So, without any additional delay, let’s get straight to the point.
iTop Screen Recorder is a free screen recording software for Windows that enables users to record any part of their computer screen with a webcam and audio. Users can seamlessly record their screen in 4K/1080p resolution with no lagging or time limit. In addition, the software comes with a built-in advanced editor to help users create stunning videos by adding effects, subtitles, texts, and audio tracks.
The best feature of iTop Screen Recorder is its ease of use. Anyone can use iTop Screen Recorder to record Zoom meetings with no training or direction. Users can record their important Zoom meetings effortlessly. The software is free to use for everyone.
Overall, iTop Screen Recorder is an intuitive, easy-to-use, and robust screen recorder, that has been designed keeping in mind the special requirements of users.
You might be wondering, why I should use iTop Screen Recorder when there are thousands of other applications that I can use. Well, let me change your mind. iTop Screen Recorder is a feature-packed screen recorder tool that is suitable for both personal and professional use. There are reasons why iTop Screen Recorder stands out as a top choice for recording Zoom meetings;
Is there any screen recording software that offers this many features? I don’t think so. So, if you have already made up your mind. Then allow me to help you set up your recording software on your computer and start recording your Zoom meetings.
Now that you have an idea about the potential of this tool, let’s jump into the steps of installing and using this powerful software.
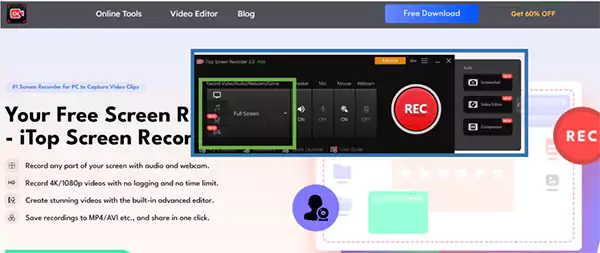
First, go to the official site to download the setup file. The software is free to download. You can locate the download button at the top right corner of the product page.
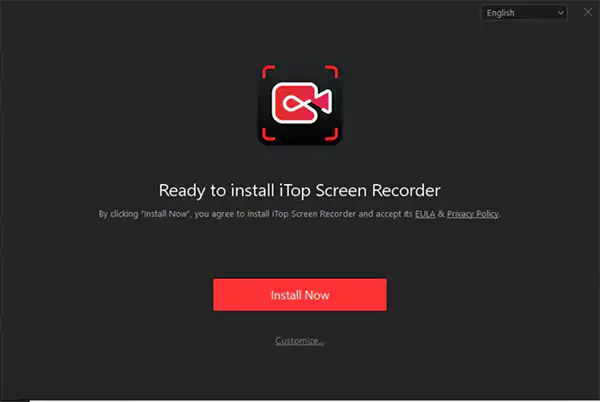
After downloading the setup file, go to the download folder of your computer and launch the setup process. Click the “Install Now” button in the install wizard and follow the steps. It should ideally take less than 1 or 2 minutes of your time.
After installing the software on your computer. Launch the Screen Recorder and you are ready to start recording your Zoom meetings. The software has an intuitive, easy-to-use, and user-friendly interface.
ITop Screen Recorder allows the user to choose from a number of recording modes including full screen, custom area, webcam, and audio only. The custom area recording modes allows you to select the specific area of your screen you want to record.
In addition to choosing the recoding mode, you can also configure the output setting such as video format, frame rate, quality, and other settings. Thus iTop Screen Recorder gives you complete control over your recorded video.
Now that you are ready to record your screen. Join the Zoom meeting you want to record. Make sure you have enabled audio and video settings as required.
Once you have joined the meeting and are ready to record the screen. Click the Red “Rec” button on the main interface, as highlighted in the image shown below.
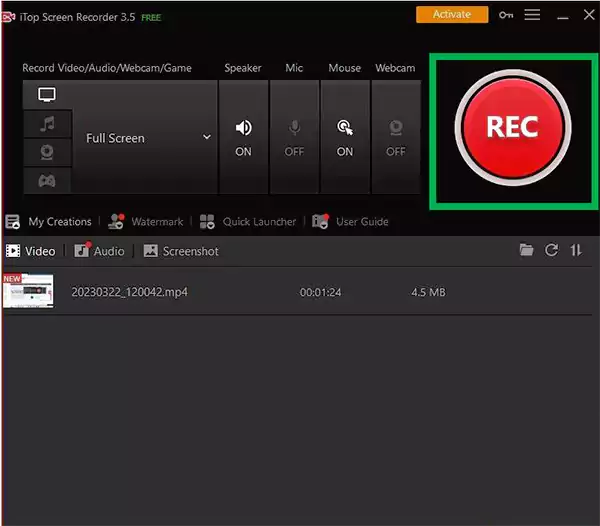
Once you hit the “Rec” button, a countdown of 3 seconds will appear on the screen and iTop Screen Recorder will start recording your screen in the background. During the recording, you can pause the video. You may also use keyboard shortcuts, such as F9 to pause/resume and F10 to stop. At the end of the recording, click the “Stop” icon or hit F10.
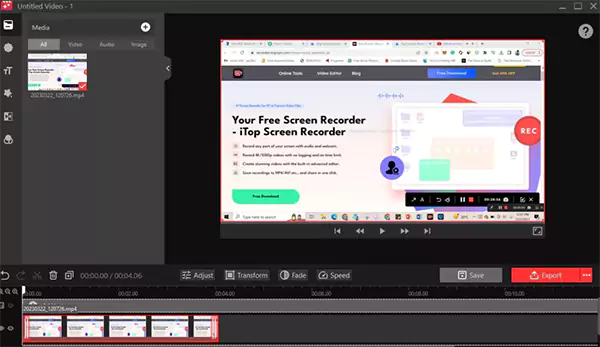
After completing the recording, you can make the required edits and save the file in the desired format on your computer. iTop Screen Recorder offers different features such as blurring, removing, and changing video backgrounds, adding voiceovers, texts, stickers, music, sound effects, and many more. The editing window is shown in the picture below.
In conclusion, iTop Screen Recorder is a one-stop solution for your screen recording needs. It offers a wide range of features to its users. Choose iTop Screen Recorder and save important Zoom meetings to improve your productivity.

Social Media Writer